
Latest News
How to use and set up a VPN on Mac
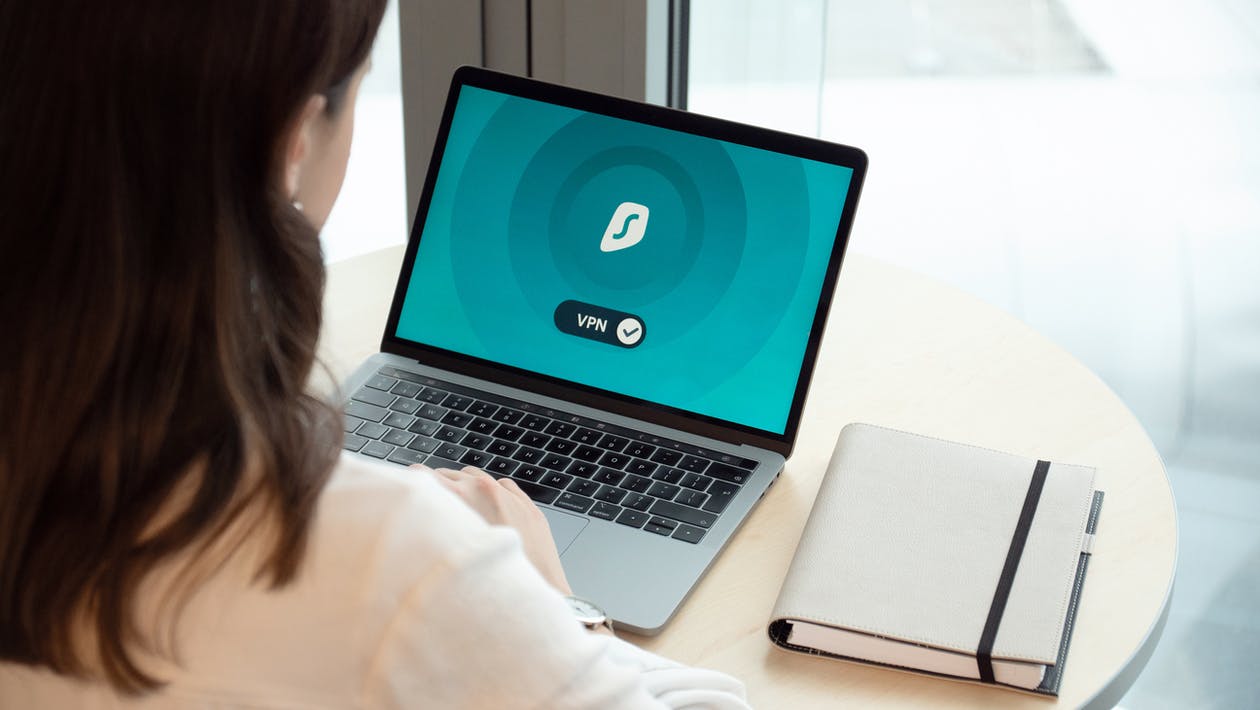
It’s easier than you think to use a VPN service on your MacBook
A VPN is excellent for accessing geo-blocked websites or protecting your data when browsing public Wi-Fi. But understanding your options or how to set one up on a Mac isn’t always straightforward. Here is an overview of VPNs and setting up a VPN Mac.
Why use a VPN
As we’ve pointed out before, a VPN is excellent for accessing geo-blocked websites or protecting your data when browsing public Wi-Fi, like at a coffee shop or hotel. VPNs are also helpful if you want an extra layer of security at home or work.
How to choose a VPN
There are many variations of VPN gratis macbook, including a range of free and paid consumer services.
Free VPN service
Using a free iTop VPN is attractive due to the cost, but that doesn’t necessarily mean it’s a bargain.
iTop VPNs offer free VPNs and private browsing that are worth considering. They often have limitations, such as being noticeably slower or providing access to a limited range of servers abroad, but free is still free.
Protection of your information:
When we use free applications, there are chances that they may collect our data. But iTopn gives you end-to-end encryption. iTop never saves your personal information, and you can use it with complete confidence of security.
How to do set up a VPN on Mac using iTop VPN settings
To set up a VPN through the native macOS VPN setup, ensure you have all the necessary data. This includes the VPN type, server address, username, password, and shared secret. This information is specific to each VPN and is provided by your VPN operator.
- Click the Apple icon on your MacBook at the top left of the screen, then click System Preferences.
- Click Network.
- Click Plus (+) to create a new network connection.
- Click Interface and then VPN from the dropdown menu. Next, choose the type of VPN. For this example, we will use L2PT over IPSec.
- Assign a service name to your connection (it doesn’t have to be specific), then click Create.
- Enter the server address and account name, which is sometimes referred to as the username by the VPN operator, then click Authentication Settings.
- Enter the password and Shared Secret and click OK.
- Click Apply and then Connect.
- Your VPN will now connect. Select Disconnect to deactivate your VPN when you’re done.
You can always see the status of your VPN connection on the Network tab. You can also click Show VPN Status in the menu bar if you want quick access to the VPN connection.
To turn the connection back on, repeat steps 1 and 2, select your VPN in the list and click Connect.
Conclusion:
If you are looking for the best free VPN for private browsing, you can install iTop VPN on your MacBook. This is entirely free of cost, and there are no hidden charges.
Umar Nisar was born and raised in the busy city of Abbottabad. As a journalist, Umar Nisar has contributed to many online publications including PAK Today and the Huffing Post. In regards to academics, Umar Nisar earned a degree in business from the Abbottabad UST, Havelian. Umar Nisar follows the money and covers all aspects of emerging tech here at The Hear Up.
Thanks