Tech
How to Migrate Your Website to a New Hosting Provider

Are you planning a website hosting migration? Whether you’re looking for better performance, enhanced security, or improved customer support, switching providers can be a crucial step in optimizing your site’s functionality. But how do you ensure a smooth transition without downtime or data loss?
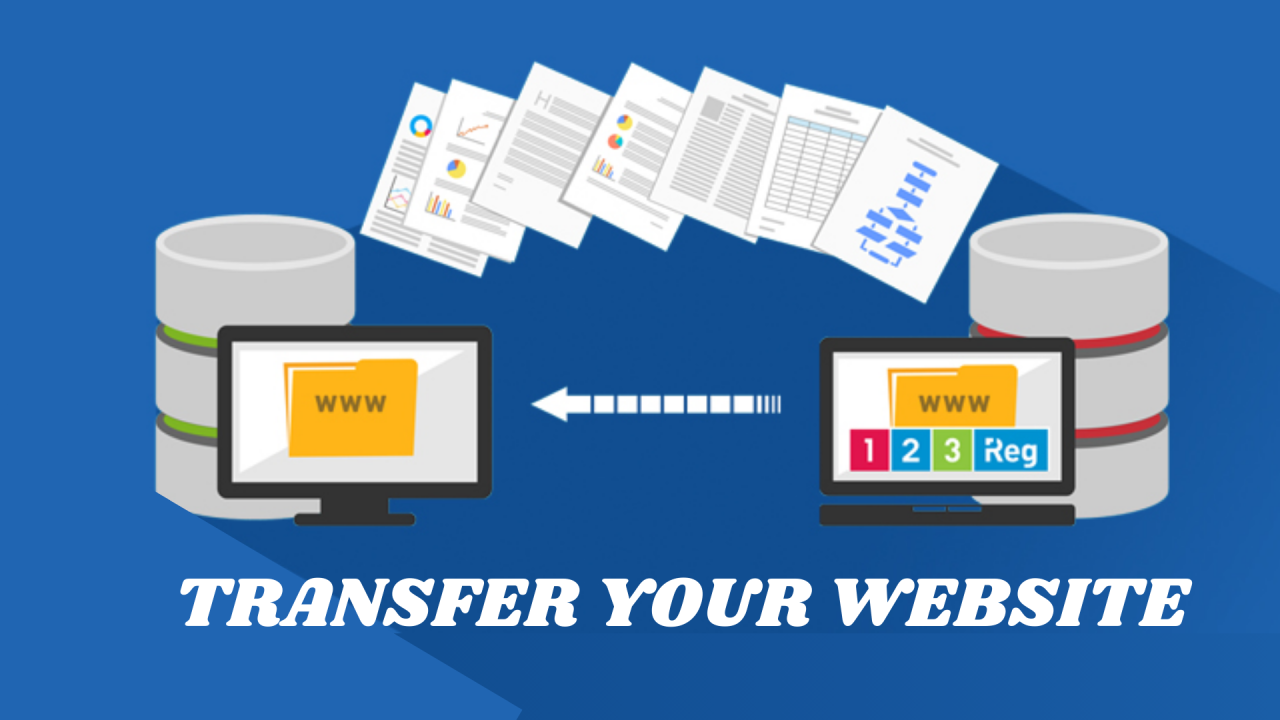
Migrating your site involves careful planning and execution. From selecting the right web hosting service to transferring files and testing the site, each step plays a role in maintaining your website’s availability and performance. This guide outlines the necessary steps to help you switch providers efficiently.
Evaluate Your Hosting Needs
Before initiating the migration, assess your website’s requirements. Consider factors such as storage, bandwidth, security, and support options. Identify whether you need shared, VPS, dedicated, or cloud hosting based on your site’s traffic and functionality. Check your existing hosting plan’s features and compare them with the new provider’s offerings. Look for additional benefits like SSL certificates, automated backups, etc. If your website is built on specific technologies, like Microsoft-based platforms, Windows hosting may be ideal for your needs.
Backup Your Website Data
Creating a full backup is essential before making any changes. Use your current hosting control panel to generate backups of website files, databases, and email accounts. Many hosting providers offer backup tools that allow easy downloading of site data. If your website relies on databases, export them using phpMyAdmin or similar tools. Store multiple copies of your backups in secure locations, such as cloud storage or external hard drives, to prevent data loss during migration.
Set Up the New Hosting Account
Once you have chosen a new hosting provider, set up your account and configure the necessary settings. Upload your website files to the new server using an FTP client or the hosting control panel’s file manager. For websites that depend on databases, create a new database and import your backup. Adjust database connection settings in the website’s configuration files to ensure seamless functionality. If using Windows hosting, check compatibility with your applications before proceeding.
Test the Website Before Updating DNS
Before making the final switch, test your website on the new hosting environment. Many hosting providers offer a temporary URL or staging environment to preview the site before updating DNS records. Verify that all pages load correctly, forms work, and databases function as expected. Check email accounts, plugins, and integrations to prevent potential issues. Fix any broken links or missing elements before making the site live.
Update DNS Records and Propagation
Once testing is complete, update your domain’s DNS settings to point to the new hosting provider. Log into your domain registrar’s dashboard and change the nameservers or A records to reflect the new host’s details. DNS changes may take anywhere from a few hours to 48 hours to propagate globally. During this period, traffic may be split between the old and new servers. Avoid making content updates until propagation is complete to prevent data discrepancies.
Monitor Performance and Final Adjustments
After migration, closely monitor website performance and visitor activity. Use website analytics tools and server logs to identify any issues that may arise. Address broken links, slow-loading pages, or missing content immediately. Verify that email services function correctly, especially if they were transferred. Update any third-party integrations or APIs to align with the new web hosting environment. Keeping a close watch in the initial days post-migration ensures a smooth transition.
Web hosting plays a crucial role in your website’s stability and performance, making a well-planned migration essential. A successful transition ensures uninterrupted service, improved site efficiency, and better resource management. Regular maintenance and monitoring help keep your website running optimally on the new hosting platform. Staying proactive with updates and security measures will further enhance your site’s reliability.


