
Tech
How to Install ATV Graphics Kits
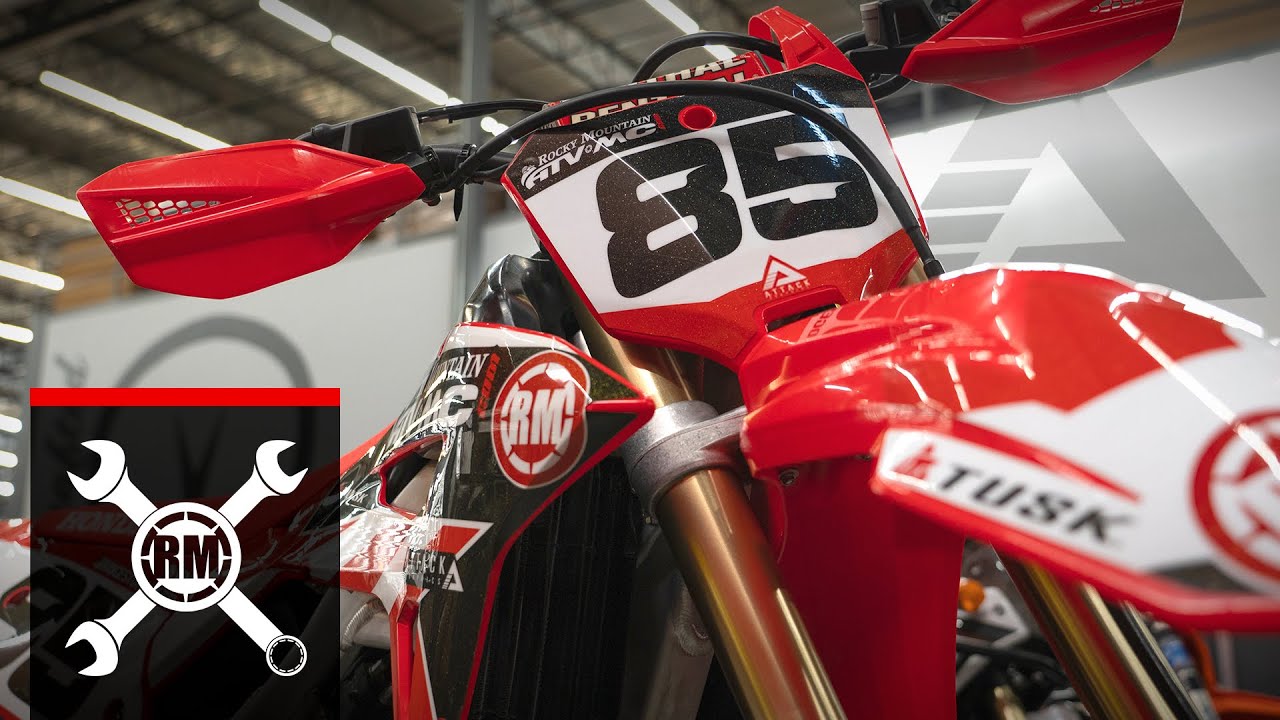
Serious off-road enthusiasts know that dirt and mud take their toll on an all-terrain vehicle (ATV). Because ATVs are covered in plastic, the particles get kicked up and scratch the surface, making it look old and dull. Installing a graphics kit is one of the best ways to keep the plastic on ATVs looking its best. Plus, the graphics look cool.
The best part of graphics kits is that there’s no need for most riders to have them professionally installed. Just make sure, when shopping for ATV graphics kits, to choose one that can be easily applied at home, then follow the steps below.
Step One: Clean Up
Once riders have their graphics kits in hand, the next step is to clean the ATV. Be sure to wash off 100% of the mud, dirt, and dust because the decals won’t stick well to materials that aren’t completely clean.
Step Two: Test Fit the Parts
Next, get out all of the different parts of the graphics kit to make sure everything is there and that every piece corresponds to the right plastic surface on the ATV. Pay attention to the die lines and to where the new graphics will be going. Those areas will need some extra prepping.
Step Three: Remove Old Graphics
If the ATV already had graphics installed but they’re no longer looking their best, now is the time to remove them. This is actually one of the hardest parts of installing a new graphics kit, and it can take some finesse. Start by peeling the decal up from the corner, then pull it away slowly and smoothly at a steep angle.
Riders who get this process just right will be rewarded with an adhesive-free surface to work with. Unfortunately, that result is rare. More often than not, old graphics leave some adhesive behind, which should be removed immediately.
To get rid of it, soak a shop rag in a solvent and use it to thoroughly wet the glue. It’s fine to get creative and try some DIY hacks if there’s no contact cleaner available, but be careful not to use anything that could damage or fade the plastic. At the end of this process, the glue should rub off easily.
Step Four: Degrease the Plastic
Use clean, white paper towels, not shop cloths, to complete this step, as the latter can leave behind an unwanted residue that compromises the new adhesive. Be sure to clean and degrease every inch of the plastic that will come into contact with the new decals.
Step Five: Apply the New Graphics
The easiest way to place the new graphics correctly is to peel back a small amount of one corner and stick it down first before removing the rest of the backing. Smooth the material down a little at a time and be sure that it’s completely flat against the surface of the ATV to avoid air bubbles. This step is generally easier to get right in warmer weather, and some people even use hair dryers or heat guns to help with difficult curves.
Enjoy the Ride
If applied correctly, high-quality modern graphics kits will look their best for longer than the factory original plastic. Once they’re installed, riders can head out on the trails with confidence knowing their ATVs are protected.
Kenneth is a proud native of sydney, born and raised there. However, he pursued his education abroad and studied in Australia. Kenneth has worked as a journalist for almost a decade, making valuable contributions to prominent publications such as Yahoo News and The Verge. Currently, he serves as a journalist for The Hear Up, where he focuses on covering climate and science news. You can reach Kenneth at [email protected].