
Latest News
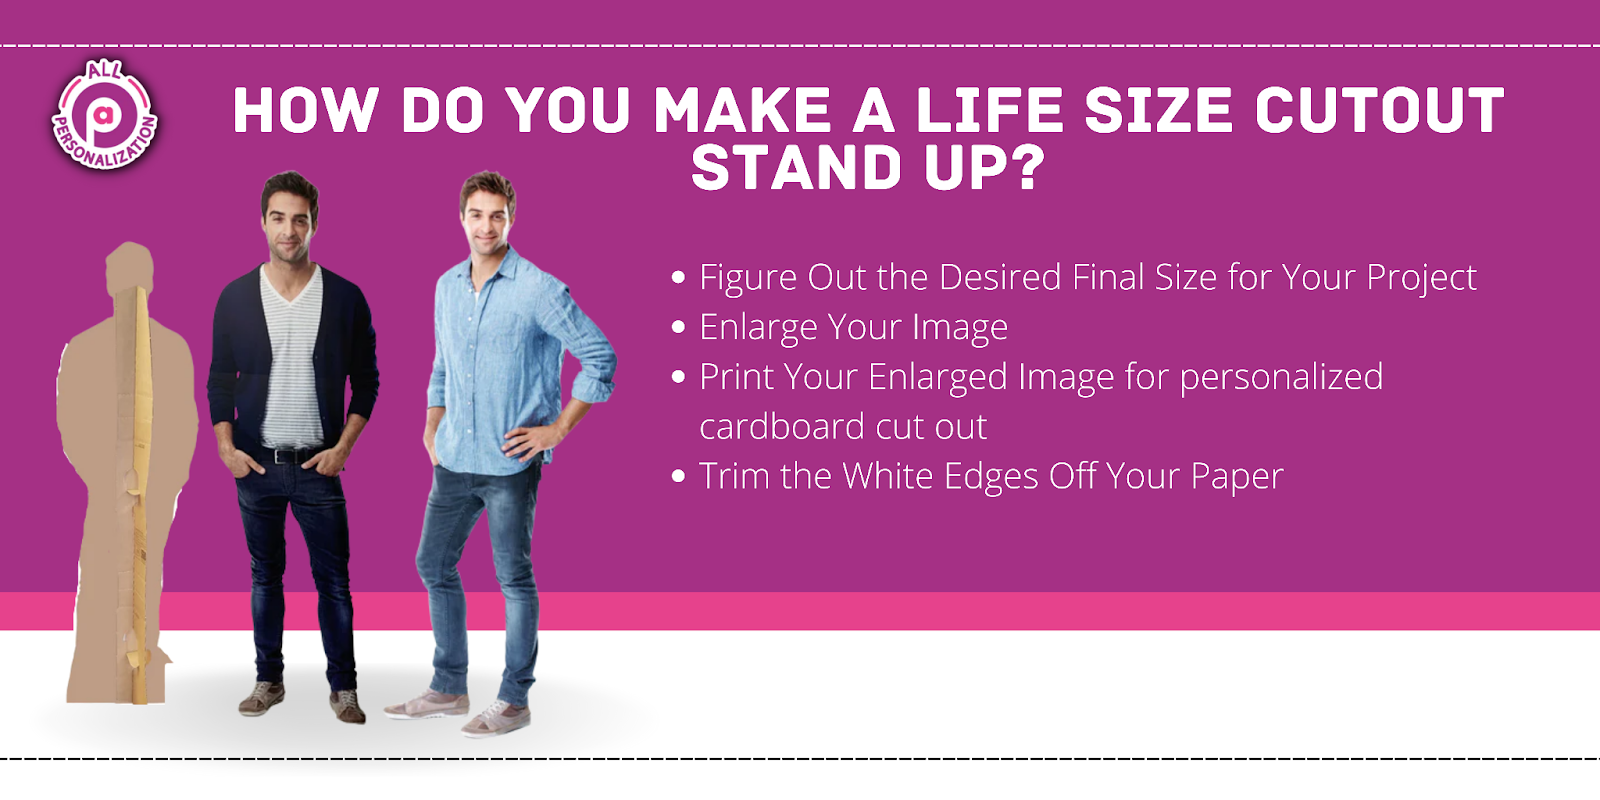
How Do You Make A Life Size Cutout Stand Up?
Finding your image is the first step in making any Personalized Cardboard CutOut to life. You will need to find the image that you like and want to use for your project, then add it to your clipboard (or have someplace where you can save it).
Next, you will be asked if there’s an option to trace or copy the image. There are many ways to do this.
Tracing does not give you as much control over the file, but it is often faster. Also, tracing saves files from getting lost or having mistakes made them.
There are two types of tracers; single line and rotary bender. The difference between the two is which way the lines bend when they are drawn.
Here are some reviews about each type. I would recommend trying to figure out what you prefer before buying one so you get the best version of it.
Figure Out the Desired Final Size for Your Project
Once you have your graphic or photo ready to print, determine how large you want to go before printing. You can choose different sizes depending on what you’re printing personalized Cardboard Cut Out.
Most printers will give you cards that hold all the possible sizes you might need. You can also purchase a thicker card with even more images, suggests experts from All Personalization.
Remember that larger images use more memory on your computer or phone. While it is impossible to tell every image exactly how big you would like them to be, making huge images smaller than optimum makes your device run slower and less efficiently.
Furthermore, most people will not have the exact sizing needs but are probably closer to some of the bigger ones. There are many guides online for choosing the right size for your smartphone screen.
Enlarge Your Image
One of the biggest concerns people have when making a walkway is whether or not their image will fit inside it. And while most images take up too much space, yours certainly won’t!
That’s because these days, we have large-format printers that can produce images about as wide as our eyes can see—so they’re more capable than ever before.
And with smaller, higher resolution prints comes an increased concern for what else gets scaled down along with your picture. What remains larger than life has less of an impact on how eye-catching your print is going to be… unless something in the remaining content isn’t scaling properly.
This is why we made the Life Size Cutout Insert.
Print Your Enlarged Image for personalized cardboard cut out
The biggest challenge most people face when making a large-scale model is ensuring that it can be properly printed. Most people assume that if an image is high quality, then it will print well. But this isn’t always the case, especially when working with miniatures.
If your computer has a scanner device, you can use it to create a digital copy of your picture; otherwise, you could take the picture to a local photo lab and have it scanned there.
Having the digital or physical copy in your possession while preparing for printing ensures that everything prints as intended, which is important when you are dealing with expensive photos.
Getting a good scan is essential when using small scales. If you need specific details at certain distances, such as an entire floor plan from a building, then that is what you should get scanning.
But if you just need something closer like someone’s name, you can save money by getting a quick selfie stick printed onto watercolor paper. Watercolor gives off a much softer light than color ink alone does, resulting in better scans.
It also works great for writing names, because the lines are thicker. You don’t want them thin enough to see through, but thick enough so they show up smooth on every surface.
Trim the White Edges Off Your Paper
Once you have your paper, marker, and glue, it is time to put your template together. Take your sheet of newspaper and lay it down in your work area.
Place your marker where you want the edges of the foil to be and draw lines that are even; don’t forget about those corners! Also, take into consideration how big you want the image to be when deciding on the final shape.
Next comes the fun part… putting it all together! With the help of someone else (parent/child/friend), place the foil against the paper and keep re-molding until you get the results you like. Then, remove the plastic protectors from the paper and use more foil to cover up any unsightly borders. Afterward, wash off with soap and water and let dry until needed.
If the process is too much for you then contact Allpersonalization for custom life size cutout.
Harper Harrison is a reporter for The Hear UP. Harper got an internship at the NPR and worked as a reporter and producer. harper has also worked as a reporter for the Medium. Harper covers health and science for The Hear UP.