
NEWS
Beyond Passport Photos: Creative Ways to Use the 35mm x 45mm Photos
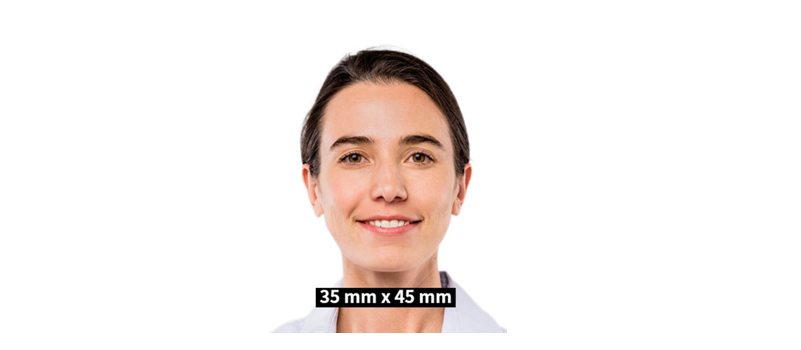
When you hear “35mm x 45mm photo,” the first thing that comes to mind is probably passport photos. These standardized photographs are a requirement for travel documents, visas, and other forms of identification. But the 35mm x 45mm photo format can also be used creatively beyond passport photos. In this article, we’ll explore some fun and unique ways to use these small-sized photographs.
Passport Photos
Before we dive into the creative uses of 35mm x 45mm photos, let’s first discuss the importance of passport photos. These photos are required for passports and other travel documents and must adhere to specific standards and requirements. Generally, passport photos should be taken against a plain white or light-colored background, with the subject facing the camera directly and with a neutral expression. Some countries have specific requirements for photo size and framing. To ensure that your passport photo is accepted, it’s essential to research the specific requirements for the country you’ll be traveling to. Additionally, there are different types of passport photos, including digital and printed options, and tips for taking the perfect passport photo.
Creative Uses for 35mm x 45mm Photos
While passport photos are important, 35mm x 45mm photos can also be used for multiple applications. For personal projects, such as scrapbooking or creating photo collages, the small size of 35mm x 45mm photos can be a fun and unique way to create a personalized keepsake. These photos can be arranged in different layouts to create a one-of-a-kind project. Another fun way to use 35mm x 45mm photos is to create polaroid-style prints. It can be done using a photo printing service or even at home with a specialized printer.
Professional Applications
Professionally, 35mm x 45mm photos can be used for business cards, resumes and CVs, and artistic portfolios. Adding a small-sized photo to a resume or business card can help create a personal touch and set you apart from the competition. Similarly, incorporating 35mm x 45mm photos into an artistic portfolio can help showcase your work and create a unique presentation.
Event and Marketing Materials
Finally, 35mm x 45mm photos can also be used for event and marketing materials. For example, incorporating small-sized photos into invitations or save-the-dates can create a personalized touch and make the recipient feel special. Similarly, using these photos in postcards or flyers can help make your marketing materials stand out. Additionally, 35mm x 45mm photos can be used for photo booth prints, which can be a fun and unique way to add a personal touch to your event.
Tips for Printing and Displaying 35mm x 45mm Photos
There are a few things to remember when printing and displaying 35mm x 45mm photos:
- Choosing a printing service specializing in smaller photo sizes is essential. It will ensure that your photos are printed with high quality and that the final result looks excellent.
- Consider the paper and finish options available, as these can impact the final look of the photo.
- Think about how you want to display the photos.
Options include frames, albums, and wall displays. Considering these factors, you can create unique and personalized keepsakes that will be cherished for years.
Conclusion
The 35mm x 45mm photo format is not just for passport photos! These small-sized photos can be used in several creative ways, from personal projects like scrapbooking and photo collages to professional uses like resumes and business cards, as well as event and marketing materials. By considering the tips for printing and displaying these photos, you can create unique and personalized keepsakes that will be cherished for years. So, the next time you take a passport photo, remember to explore how to use this small-sized photo format.
Umar Nisar was born and raised in the busy city of Abbottabad. As a journalist, Umar Nisar has contributed to many online publications including PAK Today and the Huffing Post. In regards to academics, Umar Nisar earned a degree in business from the Abbottabad UST, Havelian. Umar Nisar follows the money and covers all aspects of emerging tech here at The Hear Up.
Thanks