NEWS
A Step-by-Step Guide to Creating a DIY Cordless Drill Holder

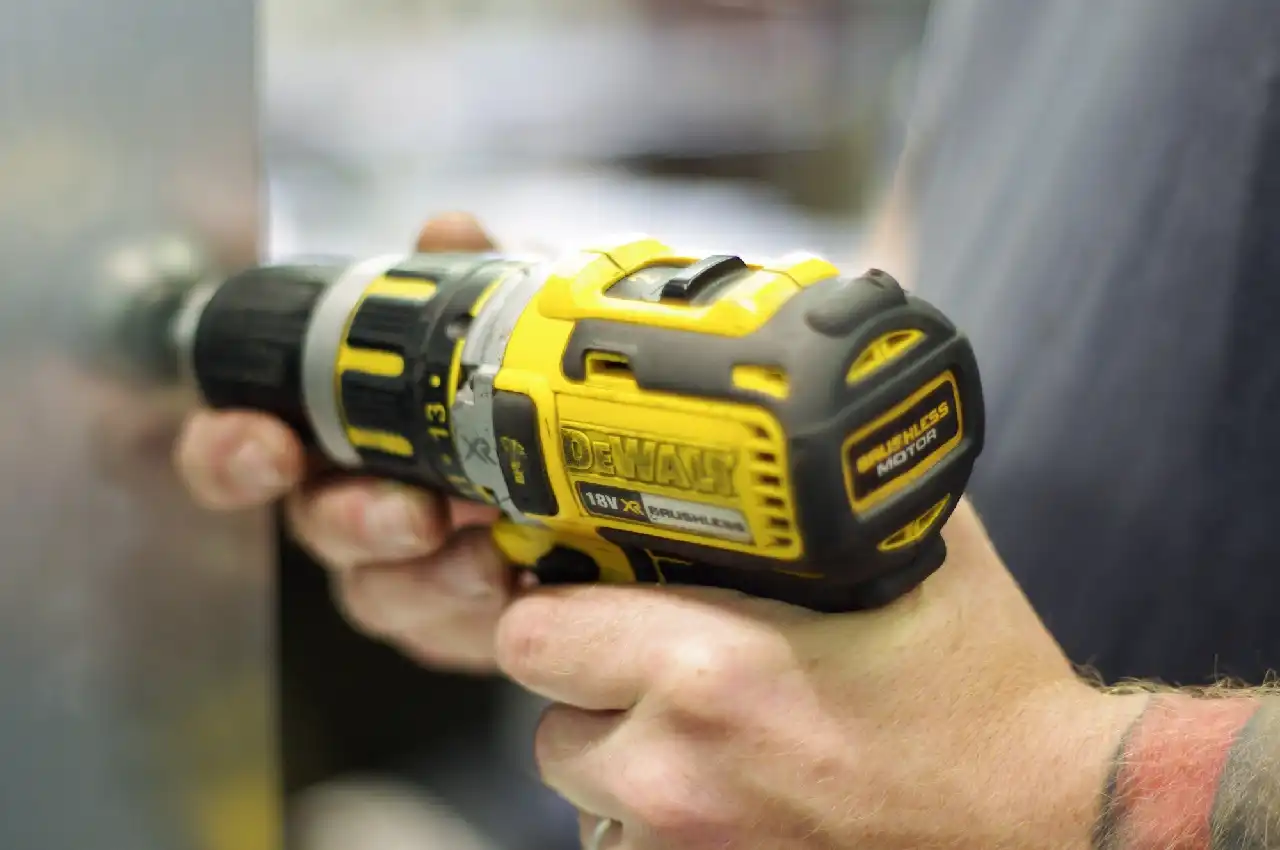
The cordless drill is perhaps one of the most important tools that you’ll have in your tool storage. However, it can be incredibly easy for it to slip into the toolbox when you’re not looking.
You’ll need to keep an eye on your drill so that you can grab it quickly when you need it. This is why you need to learn how to make a DIY cordless drill holder.
Don’t know where to start? We’ve got you! Below is a guide to help you keep your cordless drill safe and protected. Let’s get started!
Gather Your Tools
Before you begin creating your own DIY cordless drill holder, it is important to gather all the necessary tools and materials. This will ensure that the process runs smoothly without any interruptions.
To get started, gather all the necessary tools including:
- a wooden board
- screws
- a screwdriver
- a saw
- a level
- a measuring tape
In addition, you may also need other materials such as wood, sandpaper, and paint if you want to customize your holder. Make sure to lay out all the tools and materials in a designated workspace to avoid any confusion or misplaced items.
With everything in one place, you can easily refer to your checklist and start the project with ease.
Plan Out Your Design
Before you start building, it’s important to have a solid plan in place to ensure that your holder meets all of your storage needs. You also need to consider your workspace and where you want to install the holder.
This will help determine the best design and placement for your holder. Finally, think about any additional features you may want, such as hooks for other tools or shelves for drill accessories.
With a well-thought-out plan, you can create a functional tool shop holder that will make your project a breeze.
Taking the Measurements
It is crucial to have accurate measurements to ensure your drill holder fits your specific needs and drill size. The first step is to measure the height, width, and depth of your cordless drill.
Next, determine how much space you want between each drill holder. It’s also helpful to measure the height and width of the area where you plan to mount the holder.
Taking precise measurements will ensure that your drill holder fits seamlessly into your workspace.
Nailing the Assembly
To successfully nail the assembly, you will need to follow these simple steps. First, gather all the necessary materials. Next, measure and mark the board to the desired size for your drill.
Then, use a drill and screws to attach brackets or hooks to the board, ensuring they are evenly spaced. Finally, attach the board to a wall or workbench using screws or wall anchors.
This step-by-step guide will have you nailing the assembly and organizing your cordless drill in no time.
Steps for Creating a Cost-Effective DIY Cordless Drill Holder
Creating a DIY cordless drill holder is a practical and easy way to organize your tools and maximize your workspace. By following these step-by-step instructions, you can customize your holder and ensure your drill is always within reach.
Start your project today and experience the convenience for yourself! Don’t wait, grab your tools and say goodbye to cluttered workspaces!
Did you find this article helpful? Check out the rest of our blog now!
Having completed my education in English, I’ve cultivated a successful career as a content writer. My tenure includes valued collaborations with distinguished professional organizations, reflecting my commitment to producing high-quality content.
Contact me on this mail: bloggerjohnsmith12@gmail.com


