
NEWS
A Beginner’s Guide to Rock Climbing Gear
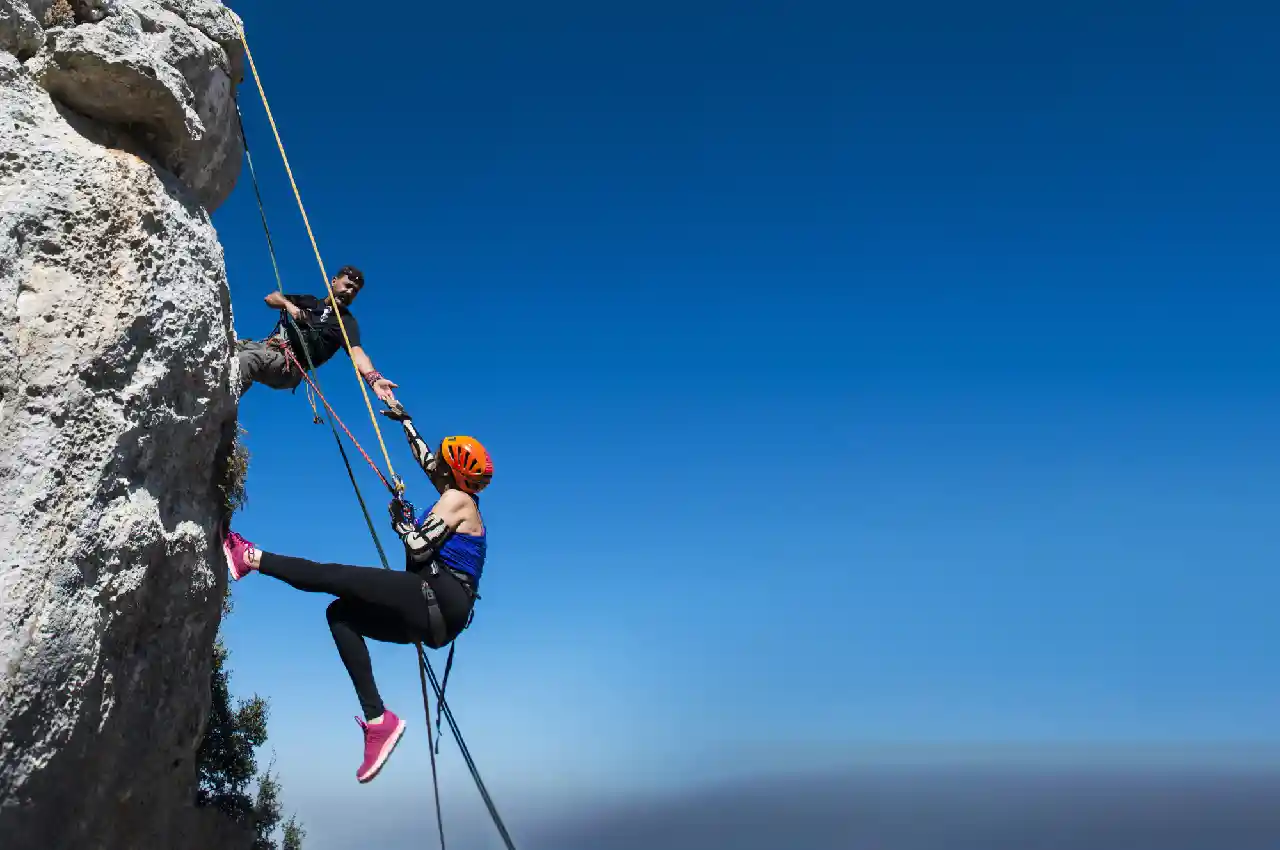
Rock Climbing Gear
Rock climbing is an exhilarating hobby that helps improve the mental health of participants. It’s also a great way to build strength, stamina, and confidence.
However, you have to have the right rock climbing equipment to get the most out of those benefits. It’s also much safer if you have the necessary gear before you begin indoor or outdoor climbing.
The following guide will cover the basics of rock climbing gear to help beginners get off to a great start before becoming the best climbers in the world!
Rock Climbing Shoes
Rock climbing shoes are one of the most necessary pieces of gear you need to buy before you start. They feature special rubber soles and a close-fitting shape that give you a better grip on the rock.
Climbing shoes also provide protection for your feet and allow you to position them on small holds. You’ll find several unique shoes for different styles of climbing.
Note that climbing shoes get organized into the categories of neutral, moderate, and aggressive. Neutral shoes have a flat sole, moderate shoes have a somewhat downturned sole, and aggressive shoes have an extremely downturned sole.
You also find many climbing shoes in slip-on, laced, and velcro options. Keep in mind that beginners should always go with a neutral shoe when first starting. They provide the most comfort and they’re also the most affordable type of climbing shoe.
Aggressively downturned shoes have a tight and uncomfortable fit. They’re usually only used by experienced climbers on technical terrain. Comfort is everything in the beginning and you want a snug shoe, but not one that causes pain from tightness.
Remember not to wear your climbing shoes for any activities outside of climbing. If you do, you’ll risk ruing the fit of your climbing shoes. There are also climbing shoes for wide feet if you have trouble finding a good fit.
A Harness for Rock Climbing
Harnesses are another crucial piece of rock climbing equipment. They provide protection for any climbing that involves using ropes. Every harness comes with standard features like gear loops, a belay loop, and holes for your legs and waist.
When comparing the differences in harnesses, look at their adjustable leg loops, weight, material, and how they fit. Those features might not make a huge difference in the beginning, but they will once you develop your climbing style.
You should keep an eye out for “all-around” harnesses that don’t cost a lot and offer great comfort for beginners. Like shoes, how the harness fits is the most crucial aspect when purchasing your first harness.
Ensure that your harness fits around your upper legs and waist snuggly. Some climbers love non-adjustable leg loops because they’re easy, but you might benefit from adjustable loops when you’re figuring out the right fit.
Chalk and Bag
Chalk often helps climbers a great deal, especially when it’s hot or humid outside. It comes in the form of a block, loose, or liquid. Beginners usually buy a small pouch made of cloth and filled with loose chalk called a “chalk ball”.
With a chalk ball, you just grab the ball to chalk up your hands. It’s very easy to refill the ball with loose chalk when it gets low.
Try not to toss loose chalk into a bag without a ball. It’s important to note that some gyms prohibit chalk without a ball because it’s messy, wasteful, and bothersome when it drops onto belayers during climbs.
Liquid chalk is not common for top-rope climbers, but other climbers prefer it to others. If you’re concerned about the environment, eco chalk work well for outdoor climbing because its colors match the rock.
Standard chalk bags are quite small and have a closing tool and a waist loop. Chalk bags for bouldering have a bigger size, no waist strap, and usually include a brush.
Novice climbers should just try to find an affordable waist belt chalk bag that includes a chalk ball. They come in many colors, designs, patterns, and shapes which allow climbers to add a bit of personality to their gear.
Belay Device
Belaying is a necessary part of rope climbing that requires a belay device and a locking carabiner. Belay categories include tube style, semi-assisted braking, automatic locks, and the uncommon figure 8.
The most standard option for beginners is the “tube style” option such as an Air Traffic Controller. Typically, new climbers learn to belay with an Air Traffic Controller and then change to an assisted or auto-braking belay later on.
Always review the device instructions to learn how to use it safely and properly no matter which style you choose.
Rock Climbing Helmets
Some inside climbers don’t use helmets, but every climber uses them for any climbing outside. Climbing helmets protect your head from anything that could fall on you while climbing. They also protect your head from the ground in case you have a fall.
Keep in mind that you want to make sure you get a helmet made specifically for rock climbing. They get designed especially for climbing and the potential hazards that come with it.
When shopping, you’ll find a hard shell and shell-foamed helmet options. Hardshell helmets usually cost less and offer more durability, which makes them perfect for novice climbers.
Shelled foam helmets often cost more and don’t last as long but have a lighter weight and breath better. It’s a nice upgrade, but not essential when you’re just getting into climbing.
Rock Climbing Gear Checklist
Now you can create a rock climbing gear checklist to help you get started. Remember that you’ll need, shoes, a harness, chalk, a belay device, and a helmet. Once you get those items, there will be no stopping your climb to the top!
Take a look at our site’s health section for more great activities to help you stay physically and mentally fit.
Having completed my education in English, I’ve cultivated a successful career as a content writer. My tenure includes valued collaborations with distinguished professional organizations, reflecting my commitment to producing high-quality content.
Contact me on this mail: [email protected]