
Latest News
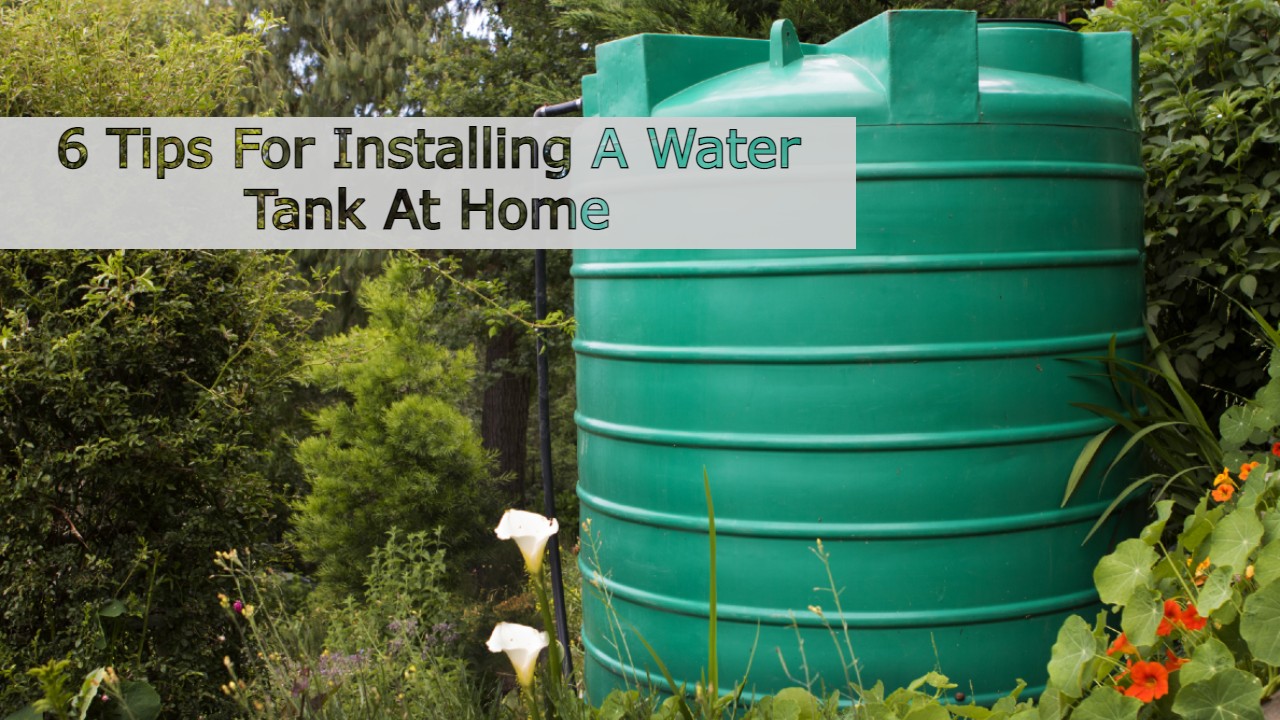
6 Tips For Installing A Water Tank At Home
Water tanks are available in a range of sizes and designs to meet various requirements, but they always serve the same fundamental function: to store water. Whenever there’s a need for water, a storage tank will undoubtedly be useful.
Water Tank Installation
Even though your home is provided with water through a well or public source, water tanks, like the ones you can find on this web site, may assist in harvesting rainfall and lowering your utility costs. They may be utilized as small reservoirs to provide a consistent supply of water for washing and gardening.
It’s also worth noting that water tank installation has become easier over time, and anybody can do it using only a few basic tools. Here are some tips on how to properly install a water tank:
- Decide Where To Install It First
Home water tanks come in a variety of forms and sizes. Prior to installing a tank, you must first decide where to place it. You can choose to install above or below the ground.
Below are the differences between the two:
- Underground Tanks: Underground tanks are more concealable and, in certain instances, offer more space for aboveground construction. Even a partly covered tank may significantly enhance views and free up room for other infrastructures.
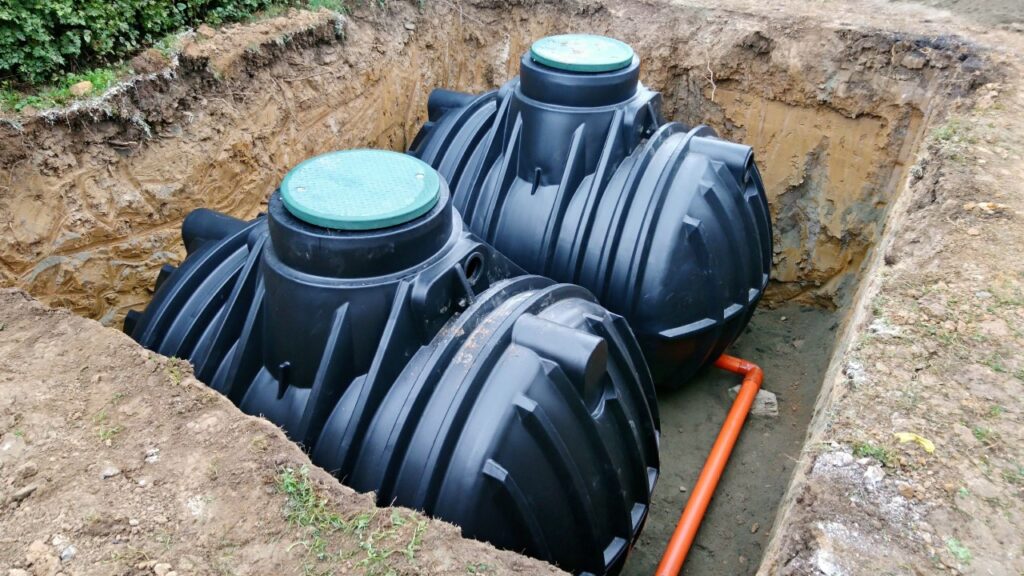
Buried tanks are also less susceptible to temperature changes in the environment. As a result, they maintain a more steady and uniform temperature. These tanks may also maintain cool water temperatures even in hot areas, which helps minimize microbial development.
Since these tanks are hidden beneath the earth, they’re usually protected from the elements, which may create fractures and leaks. On the other hand, buried tanks are harder and costly to install since homeowners must excavate a huge hole. In certain instances, they also need to be reinforced to safeguard against ground movement.
- Aboveground Tanks: Aboveground tanks are much less expensive and simpler to install than tanks installed below the ground. You’re also not required to strengthen the tank or dig the area surrounding it.
These tanks are also easier to inspect compared to those buried below the ground. Additionally, they’re considerably simpler to repair because there’s no need to dig to identify the root of a problem. However, aboveground tanks are more susceptible to damage from severe weather, which may result in leaks.
- Create A Base For The Tank
Whatever type of water tank you wish to install, you need a firm and flat foundation for it to set on. While the majority of people utilize concrete for their base, others choose to lay a thick coating of compressed building material instead. The objective is to achieve a flat top that spans the width of the tank.
You would also like to ensure that the foundation isn’t rocky or rough since this may cause the tank to rupture or become unstable. Additionally, it’s a smart option to create restraining barriers to protect the base from deteriorating or moving over time.
- Build An Overflow Spout
An overflow outlet is required when installing a rainwater collection tank. Most tanks have an overflow mechanism completely mounted, while others may need installation by you or a professional.
Nevertheless, it isn’t a very difficult task. You just have to poke a hole, connect a gasket and, if required, put a filter. The last step is to bolt the fixture in position. This ensures that any surplus water has somewhere to go and won’t damage the critical base due to spillover water pouring on it.
- Provide Adequate Covering
The covering for tanks must be impermeable. Excluding the intake and outlet, all gateways should have tight-fitting covers. The intake should be equipped with a filter to stop debris from entering the tank. Furthermore, you should install a mesh barrier to block the entrance of insects and pests. Doing so ensures that you store clean water efficiently.
- Check Local Requirements
Before purchasing a water tank, consult your local water department. Certain tanks may need to be approved before you can use them. Never install water tanks without first knowing what’s required in your location.
- Consult A Pro
Experts are the most competent when installing water tanks. A licensed plumber has the knowledge and skills necessary to install your tank effectively, providing you with the highest quality service. Also, you can rest assured that they have the expertise necessary to assist you with any water tank concerns.
Takeaway
Installing a water tank may seem intimidating, but they’re useful for many purposes. It’s also an effective way to save water and, therefore, save money on your regular bill. For installation inquires, consult an expert plumber.
Kenneth is a proud native of sydney, born and raised there. However, he pursued his education abroad and studied in Australia. Kenneth has worked as a journalist for almost a decade, making valuable contributions to prominent publications such as Yahoo News and The Verge. Currently, he serves as a journalist for The Hear Up, where he focuses on covering climate and science news. You can reach Kenneth at [email protected].